 |
| Love - String art |
Here is the finished product, not to shabby if I say so myself. Now onto how to make this bad boy.
Supplies you will need:
- A piece of wood - Mine was from Michaels (unfinished wood section) and cost $9.99. It is 1 foot high and 2 feet wide (12 inches high and 24 inches wide) and is only a half inch thick.
- Acrylic paint - I chose white, but you can pick any colour you want. I bought my acrylic paint in a bottle at the Dollarama; it isn't the best quality but it does the job perfectly for this project.
- Nails and hammer - Depending on how small or big the spaces inbetween the nails will determine how many nails you need. I used 7/8" nails and I used a whole 75g package. Ricky bought the nails for me at Wal-mart and says they were $2.98 a package.
- Embroidery thread - I got a set of embroidery thread at Michaels that came with 105 10 yd bundles of Embroidery thread in a assortment of colours. The price was $25.99, but I used a 40% off coupon bringing it down to $15.59.

First I took my unfinished piece of wood an gave it 3 coats of white acrylic paint.

I then went on Microsoft Office and picked the script I liked best. I ended up choosing Freestyle Script and after printing and cutting out the letters I taped them together (you don't need to cut out the middle of the O and E). I also googled and printed off four hearts for the blank spaces on the sides of my word. I taped the word and hearts onto the wood with scotch tape.

After the taping I began nailing around the words and hearts. This by far took the longest amount of time and probably drove Ricky and the animals crazy. Note: If you want a tighter and fuller look place your nails fairly close together. If you look at the finished product the word and small hearts are nailed closely together. However, the large hearts have a wider space between the nails. No way is the right way, it all depends on what look you like.

This was my hand that held the nails halfway through. I had no choice but to put band-aids on to save my white paint from red blood. I think I should have practiced my hammering skills before tackling this project.


Many hours, band-aids, and nails later I finished the most tedious part of the project.

Then you simply remove the paper, it should come off easily. Even if you have to use a little force it should be fine if you nailed you nails securely into the wood.

This is what your project will look like once the paper is removed.

After you have chosen your colours select a starting point and knot the thread to a nail. Now it is just a matter of wrapping your thread around the nails in any pattern you like. It will be different for everyone, so just play around and keep wrapping until you like the look.


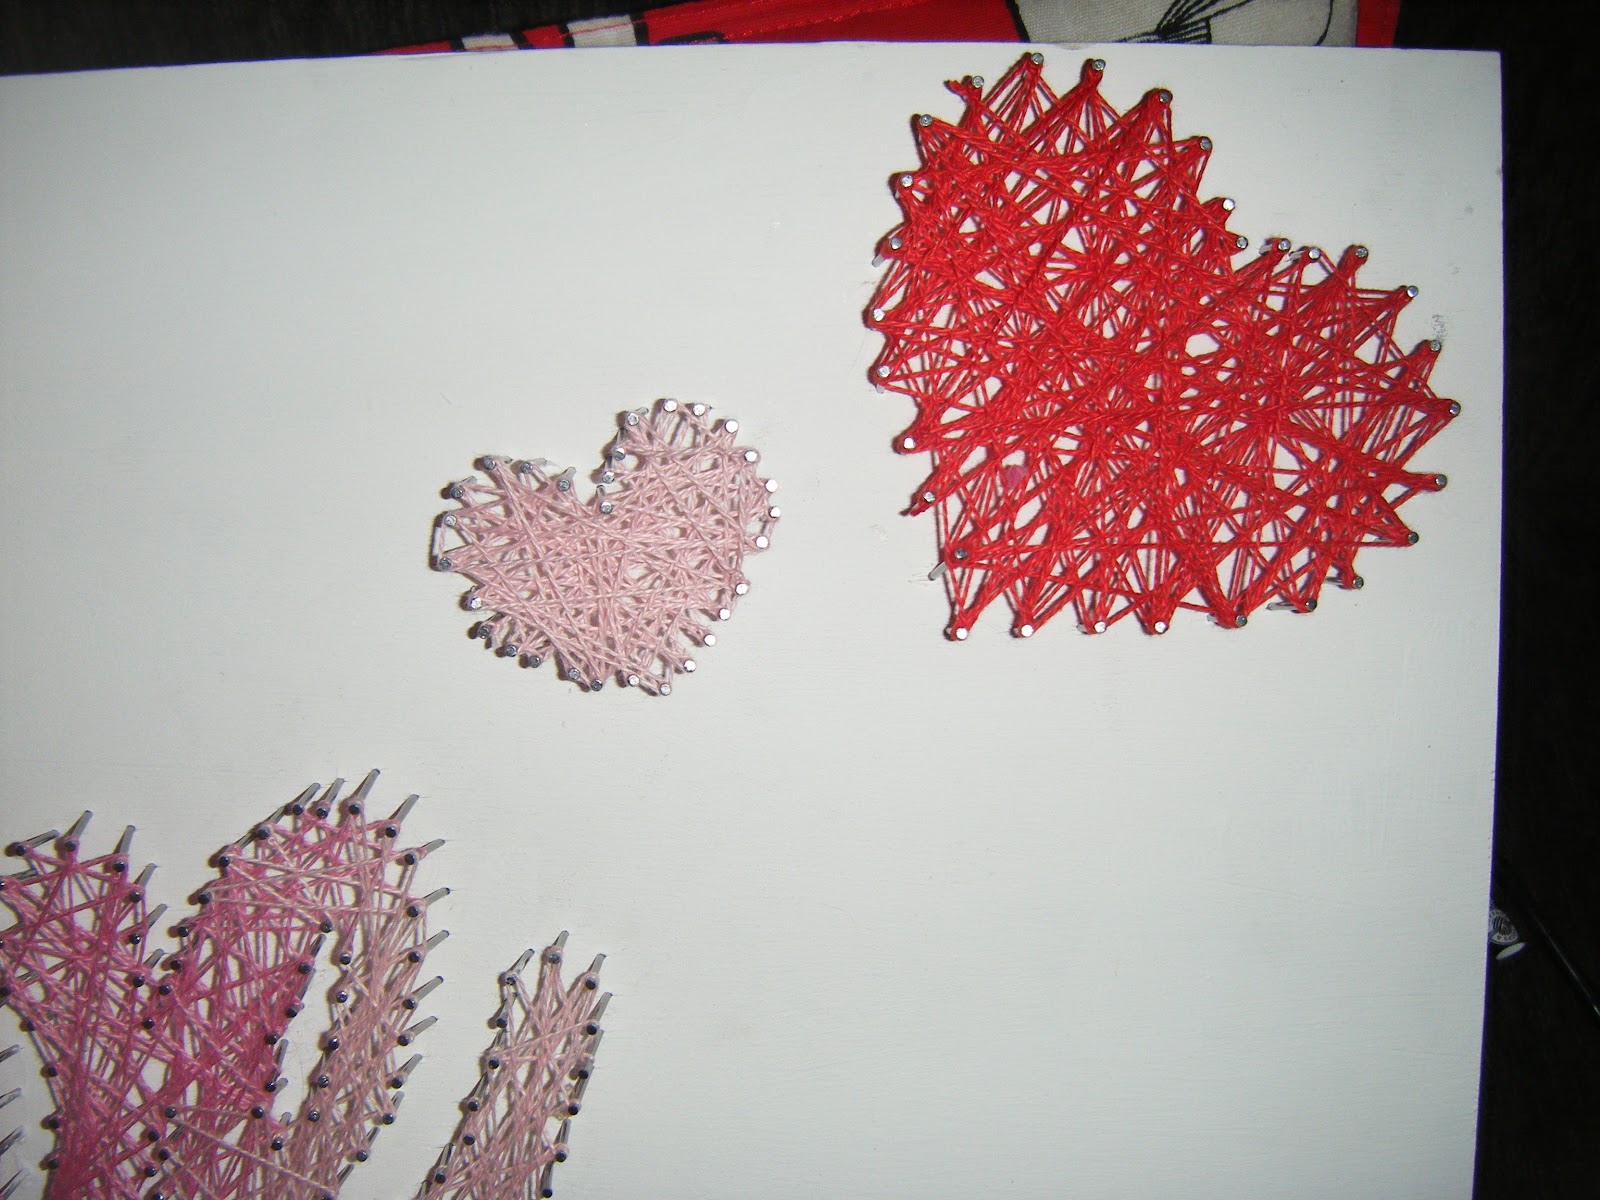
Here is a secret about me, I really suck at gradient manicures, but I love the look of them. So I decided to do my string art as a gradient starting off with dark red and then gradually ending in a light pink. I did this by starting off with red and then overlapping the dark pink into the red and then overlapping the medium pink into the dark pink and so on.

There you go! It's as "easy" as that! I must say that even though this project took quite a bit of time, the end result is worth it.
I would love to hear all about your string art and let me know if you did a better job at missing your fingers while hammering.
Thank-you for reading.
- Kristen
http://craftsandnails.blogspot.com
louis vuitton outlet online
ReplyDeletetommy hilfiger outlet
canada goose outlet
abercrombie and fitch
tiffany and co jewelry
uggs sale
ray ban sunglasses
christian louboutin uk
bengals jerseys
mont blanc mountain pen
chenyingying20161222
goyard handbags
ReplyDeleteair max
kyrie irving shoes
yeezys
birkin bag
off white hoodie
supreme outlet
nike sneakers for men
christian louboutin outlet
yeezy supply
Extra resources b3g63p4c91 louis vuitton replica handbags replica bags wholesale mumbai replica bags in uk check my reference o8p74e0l60 louis vuitton replica bags neverfull zeal replica bags click here for more info h6y76g6f57 replica bags in pakistan
ReplyDelete