Showing posts with label string art. Show all posts

Sunday, 18 November 2012

Birds on a Wire on Canvas with String Art

Hi Everyone! Happy Sunday :P. This weekend went by so fast because it was jammed pack of being with family, putting up Christmas lights, and babysitting. I did sneak in some time to do a new craft project that I am very excited to share with you!!!!! This is my variation of Birds on a Wire, with a splash of string art for texture. Below is the finished product and below it is the tutorial on how to make it.

Birds on a Wire - Canvas and String Art
Completed Birds on a Wire - Canvas

Supplies you will need:
  1. A Canvas - the one I used is 15 inches tall, 30 inches wide, and 1.5 inches thick, I got it from Michaels and it was on sale half off for $15.00.
  2. Acrylic Paint - variety of colours
  3. Brushes, sponges, etc.
  4. Nails  - the ones I used were 3/4" and they are from Wal-mart.
  5. Embroidery Thread - I just used plain ol' black embroidery thread. On this project I used almost four 10 yd bundles.
  6. A piece of wood to fit the back of the canvas
  7. Long Screw or Nails - you will see why in a bit.
 
 First I painted the canvas a light blue using a foam brush. It took 3 coats to cover it completely.

I then mixed a blue-green and used a brush to paint around the outside of the canvas. As you can see the colour isn't a huge difference, but this will be base of the shadowed area.

I took a orange paint and used my fingers to place it randomly around the edges of the canvas. I then used water and a brush to blend the orange into the blue-green.

Afterwards I took a dark yellow and did the same as I did with the orange. I then let all the colours dry before I proceeded to the next step. 

I then mixed a light purple and brushed it onto the very outside of the canvas, I then soften the edges of the light purple with a wet foam brush.

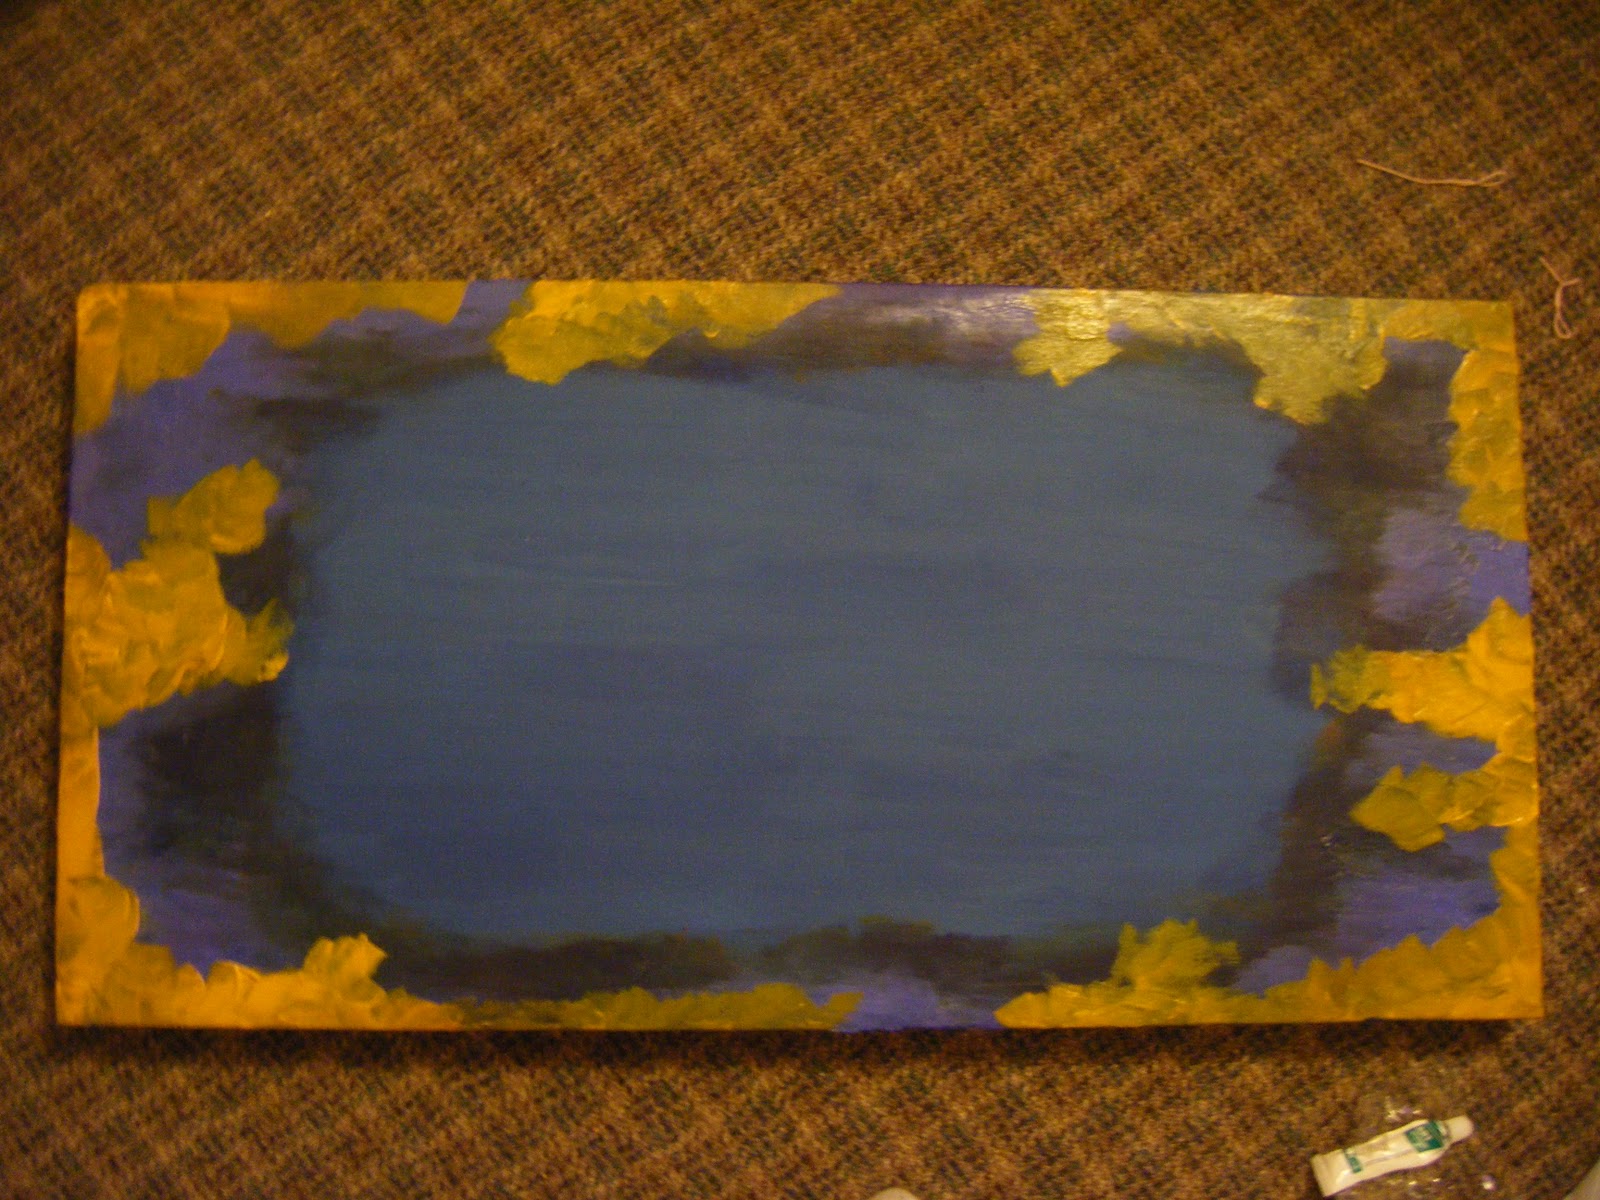
While the purple was still wet, I added the same yellow I used before around the edge of the canvas. The whole point of all these colours is to create depth around the canvas.

Before blending the yellow I placed a small amount of orange around the yellow, this was the same orange I used before. I then used a wet brush to blend the colours together.

Lastly, I blobbed a dark purple around the very edges and blended them into the other colours.


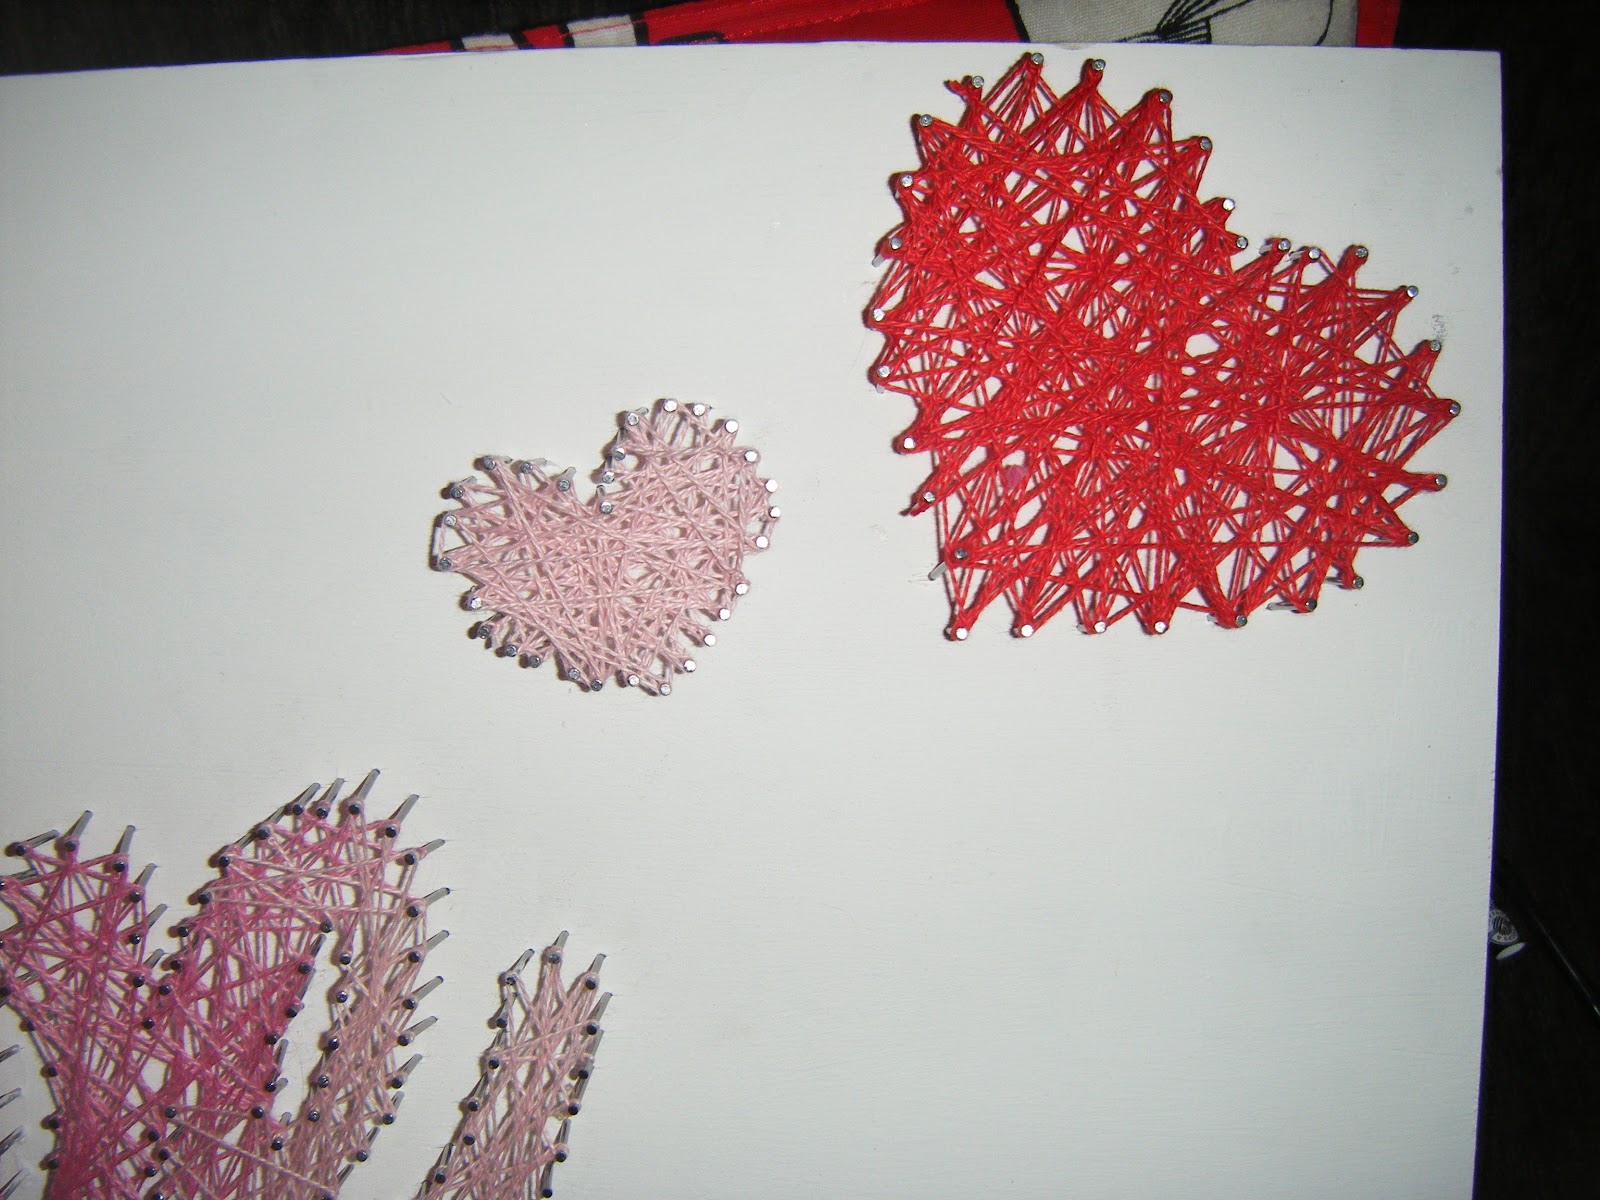
 Here are some pictures of the painting when it was completed and dry.

 To get the nails to stay in the canvas I had to give them something to dig their teeth into, so I placed a piece of wood on the back of the canvas. Unfortunately, the piece of wood wasn't big enough, so I had to get Ricky to cut it and he stapled it to the area where I would be nailing. I then used long screws and placed them in the middle to ensure that the wood stayed sturdy.

I then went on the internet and printed off some birds; they were from an advertisement for a vinyl wall decal. I then cut the birds out and cut out some straight lines and taped it to the canvas.

  
I then nailed all along the outside of the cut outs. If you want more information about this part, please see my first String Art tutorial here http://craftsandnails.blogspot.ca/2012/11/string-art-tutorial.html.

Then I removed the cut-out from the canvas. 

Once the cut outs are removed it will look something like this.


I tied my thread to one of the end nails.

  
Then I started weaving my thread along the nails.

Birds on a Wire Painting with String Art
    
VOILA! All done! This was a great project and I am so excited about how it looks above my TV. I was getting so tired of the big blank space. P.S. Guess what I was watching when I was crafting away? ;)

I hope you enjoyed my tutorial and that you give the project a try!

Thank-you for reading!

- Kristen

Tuesday, 13 November 2012

Love String Art Tutorial

I have been seeing a lot of string art on Pinterest and I really love the look of it. I saw this post http://quelinda-crafts.blogspot.ca/2012/01/string-wall-art-for-valentines-day.html and thought it would be pretty easy and quick to do a LOVE string art of my very own. I got one part of this project right and that was that I could do a LOVE string art, the easy and quick part I was very much mistaken about. Don't get me wrong the concept of string art is pretty easy, but it is the nailing of all the nails and not hitting your fingers that is the problem. Anyways, the tutorial for the "Love" String Art is below.

Love - String Art
Love - String art

 Here is the finished product, not to shabby if I say so myself. Now onto how to make this bad boy.

Supplies you will need:
  1. A piece of wood -  Mine was from Michaels (unfinished wood section) and cost $9.99. It is 1 foot high and 2 feet wide (12 inches high and 24 inches wide) and is only a half inch thick.
  2. Acrylic paint - I chose white, but you can pick any colour you want. I bought my acrylic paint in a bottle at the Dollarama; it isn't the best quality but it does the job perfectly for this project.
  3. Nails and hammer - Depending on how small or big the spaces inbetween the nails will determine how many nails you need. I used 7/8" nails and I used a whole 75g package.  Ricky bought the nails for me at Wal-mart and says they were $2.98 a package.
  4. Embroidery thread - I got a set of embroidery thread at Michaels that came with 105 10 yd bundles of Embroidery thread in a assortment of colours. The price was $25.99, but I used a 40% off coupon bringing it down to $15.59.
First I took my unfinished piece of wood an gave it 3 coats of white acrylic paint.

  
I then went on Microsoft Office and picked the script I liked best. I ended up choosing Freestyle Script and after printing and cutting out the letters I taped them together (you don't need to cut out the middle of the O and E). I also googled and printed off four hearts for the blank spaces on the sides of my word. I taped the word and hearts onto the wood with scotch tape.

  
After the taping I began nailing around the words and hearts. This by far took the longest amount of time and probably drove Ricky and the animals crazy. Note: If you want a tighter and fuller look place your nails fairly close together. If you look at the finished product the word and small hearts are nailed closely together. However, the large hearts have a wider space between the nails. No way is the right way, it all depends on what look you like.  

  
This was my hand that held the nails halfway through. I had no choice but to put band-aids on to save my white paint from red blood. I think I should have practiced my hammering skills before tackling this project.

  
Many hours, band-aids, and nails later I finished the most tedious part of the project.

  
Then you simply remove the paper, it should come off easily. Even if you have to use a little force it should be fine if you nailed you nails securely into the wood.
This is what your project will look like once the paper is removed.

After you have chosen your colours select a starting point and knot the thread to a nail. Now it is just a matter of wrapping your thread around the nails in any pattern you like. It will be different for everyone, so just play around and keep wrapping until you like the look. 
 Love String Art

Hearts and Love String Art

Here is a secret about me, I really suck at gradient manicures, but I love the look of them. So I decided to do my string art as a gradient starting off with dark red and then gradually ending in a light pink. I did this by starting off with red and then overlapping the dark pink into the red and then overlapping the medium pink into the dark pink and so on.  

 Love String Art
 There you go! It's as "easy" as that! I must say that even though this project took quite a bit of time, the end result is worth it. 

I would love to hear all about your string art and let me know if you did a better job at missing your fingers while hammering.

Thank-you for reading.

- Kristen

http://craftsandnails.blogspot.com